Knittrick: Adjust a Pattern

Use Knittrick’s Adjust a Pattern option when you want to change the stitch and row counts in a pattern to work with your own gauge, whether you’re using a slightly different yarn than the pattern calls for or just don’t knit the specified yarn at exactly the gauge the pattern expects. Either way, it’s safest to use a gauge that’s pretty close to the original.

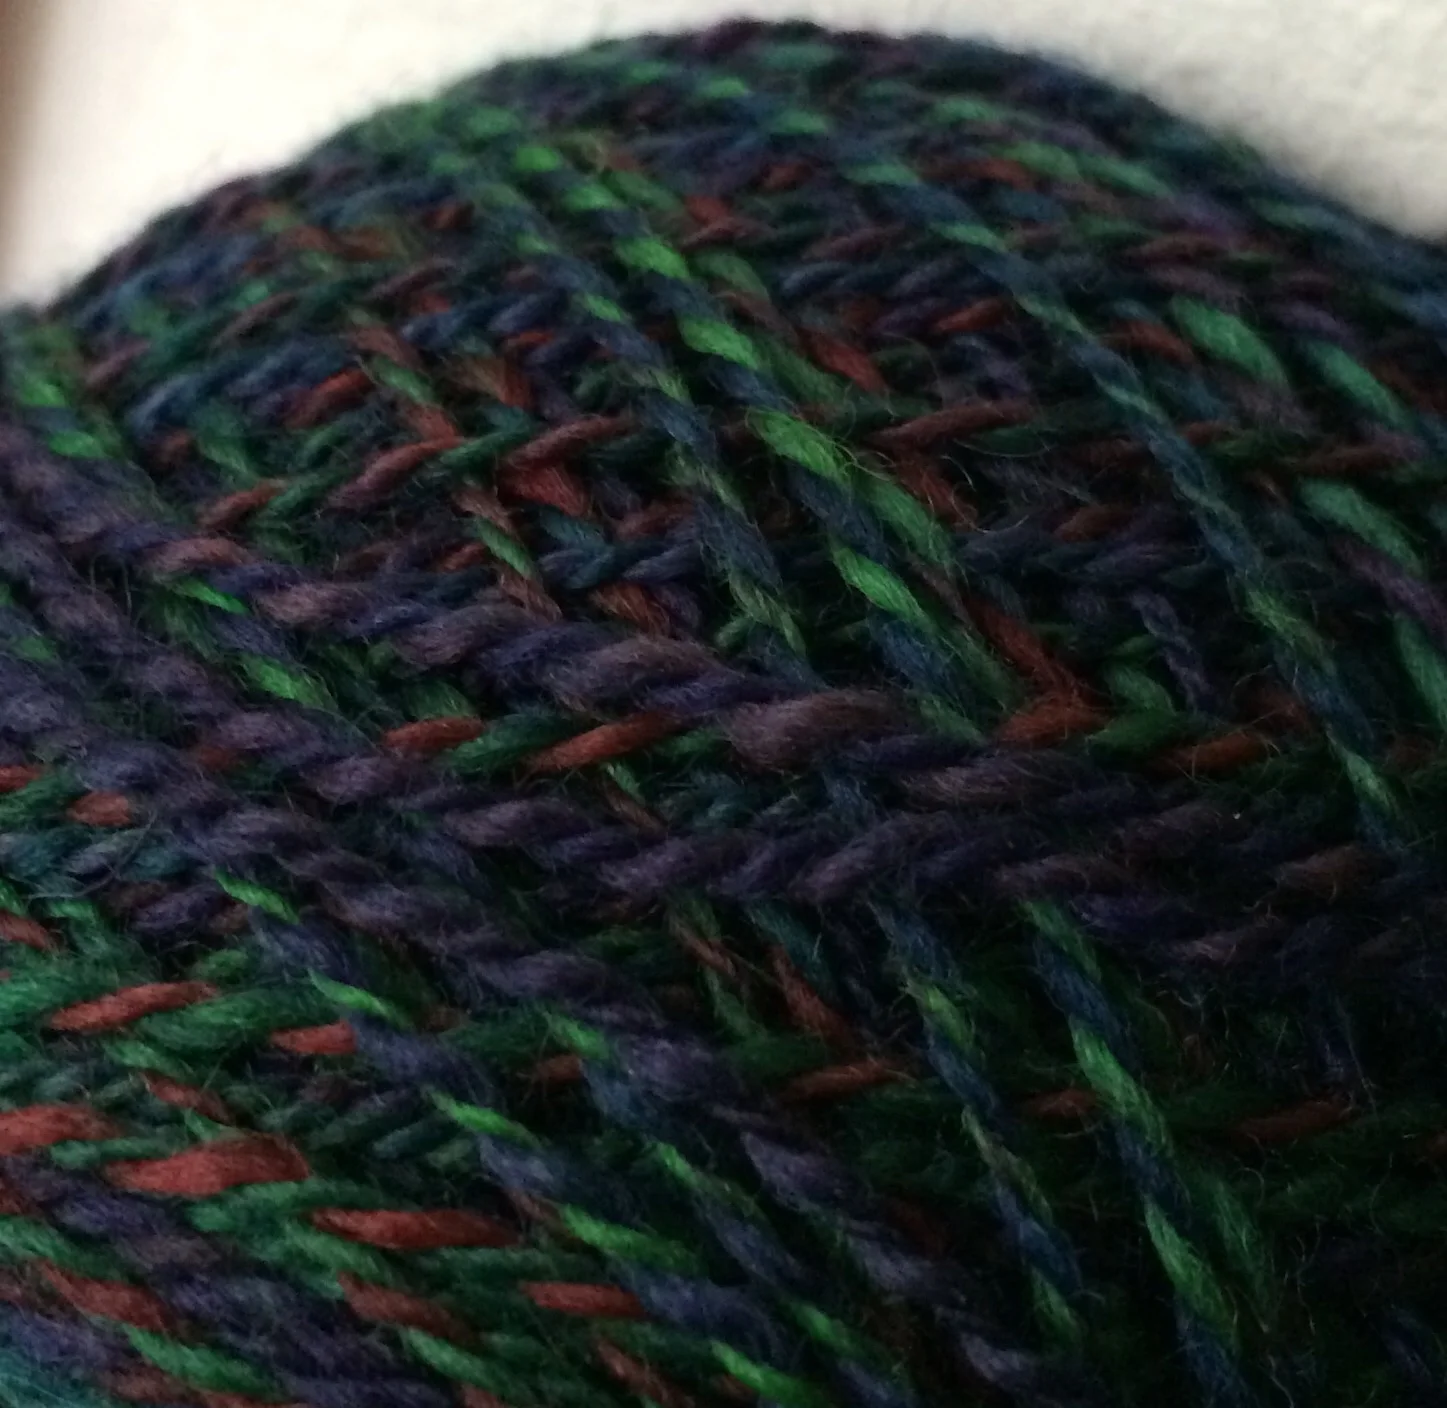
For an example, let’s look at the free, one-size-fits-all 1898 Hat pattern, which you can find in the Patterns section of the The Seamen’s Church Institute’s website. I bought a beautiful skein of handspun at a craft fair last year and wanted to make this hat out of it. The only problem was that the pattern calls for a gauge of 20 stitches per 4 inches, and my yarn came out at 23.5 stitches per 4 inches.

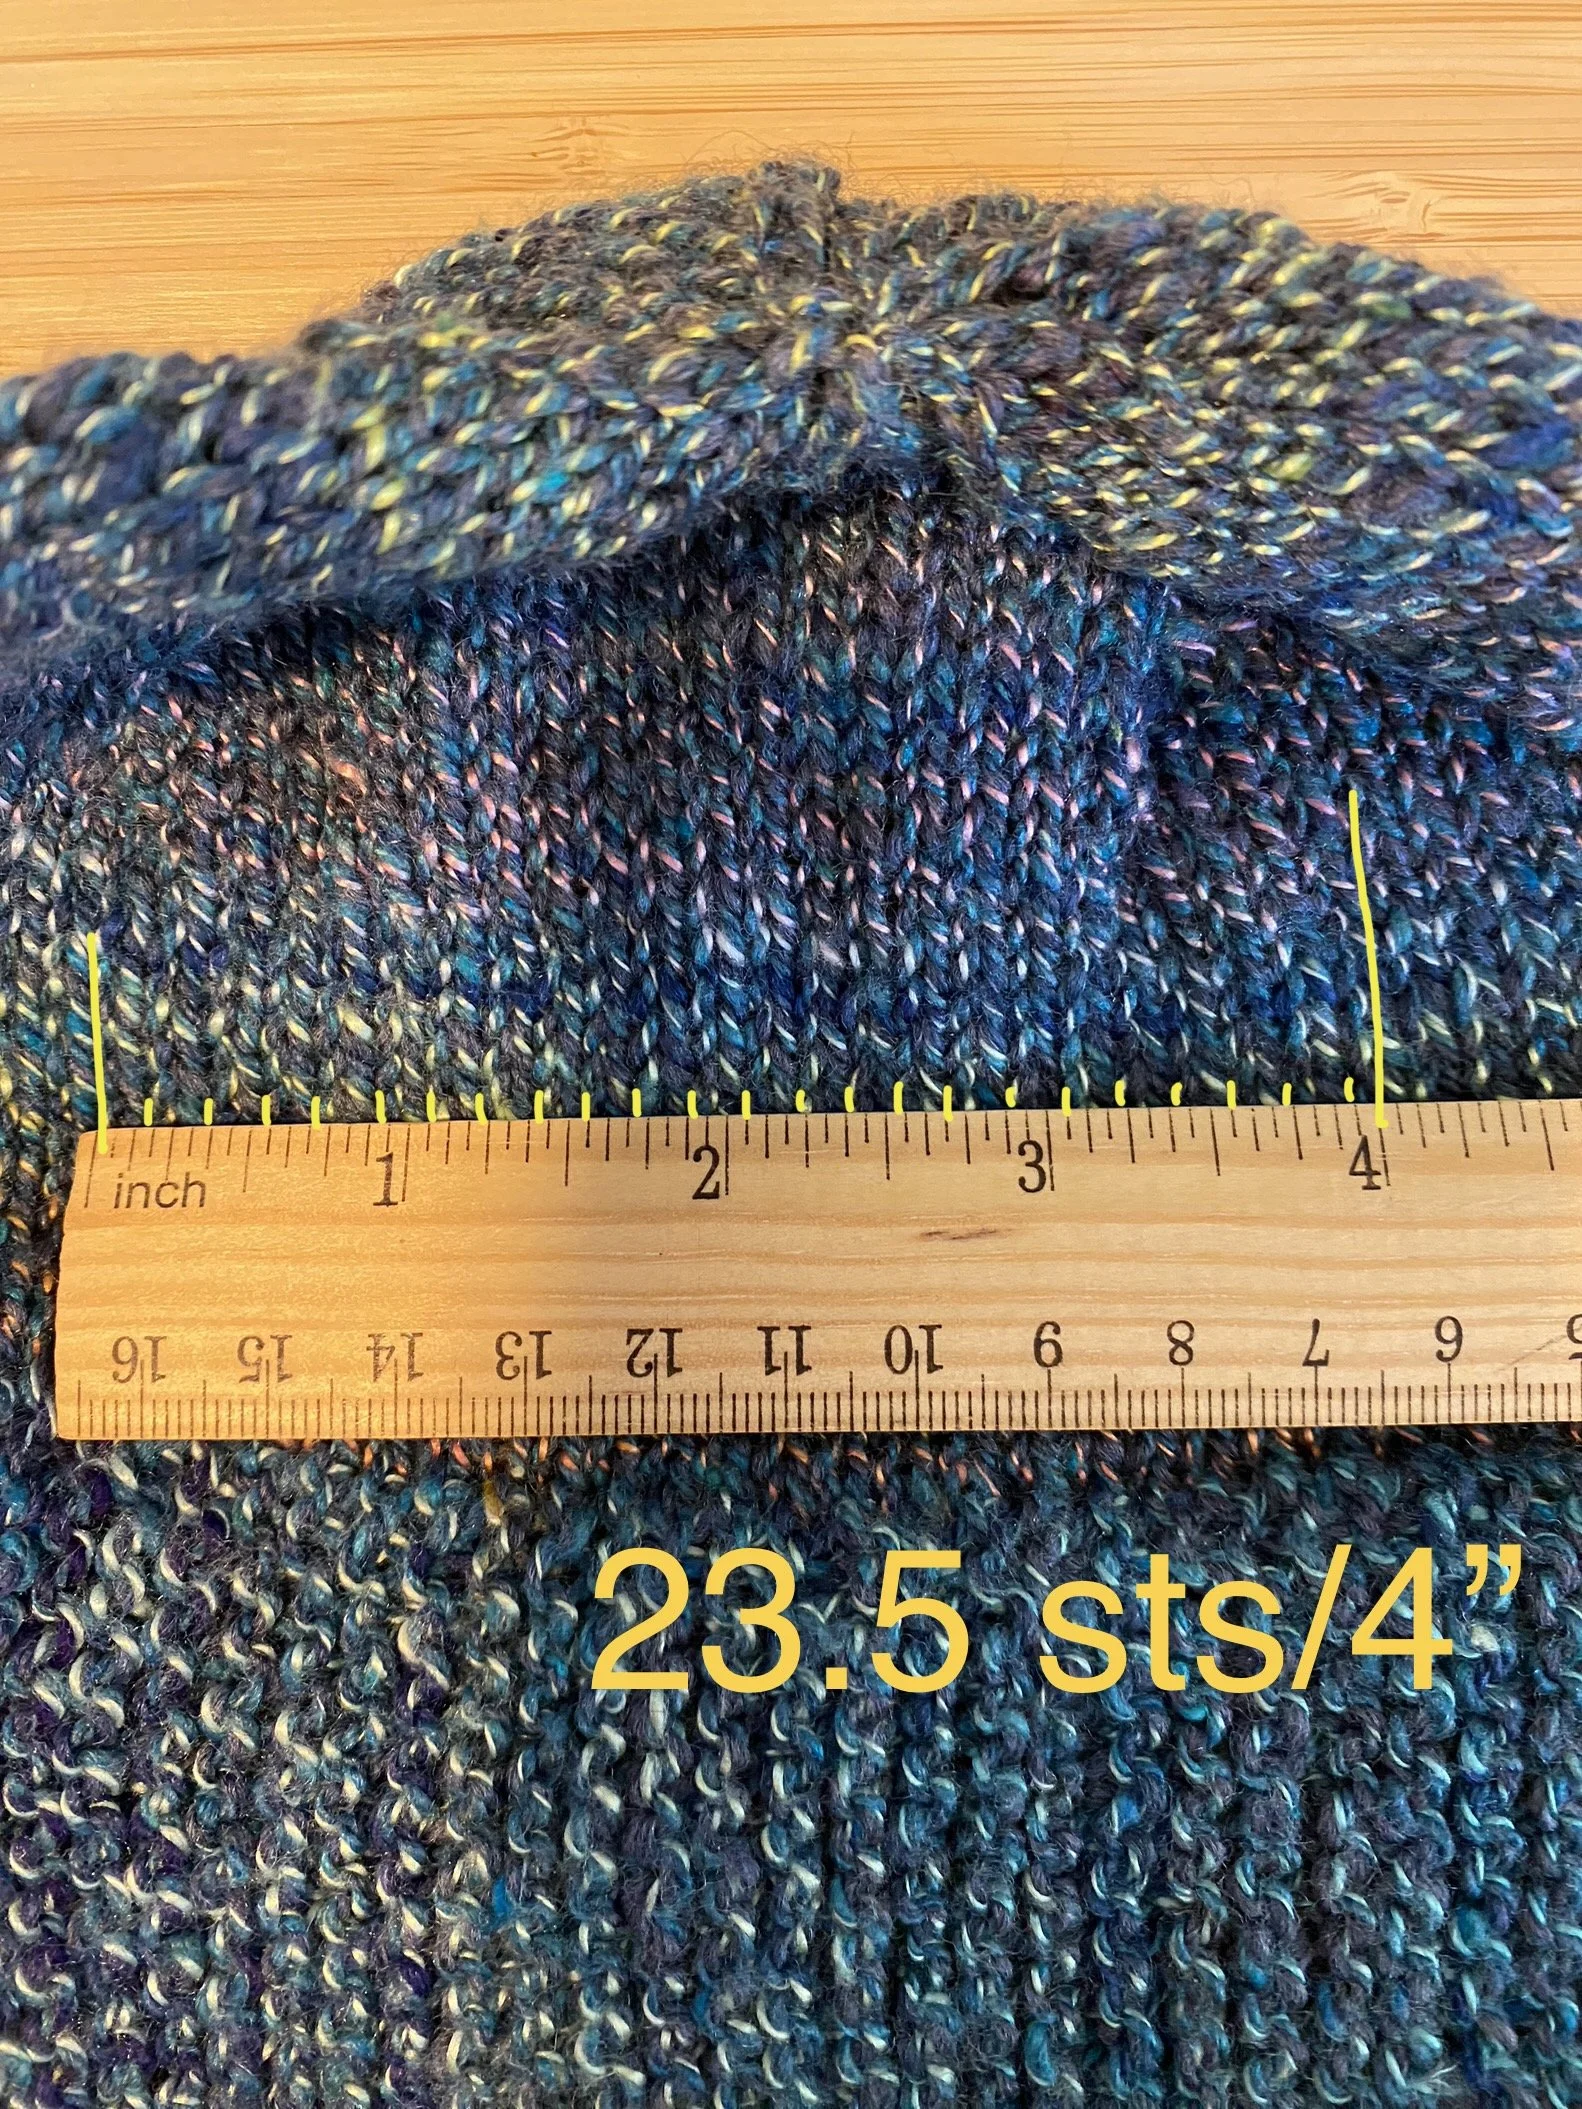
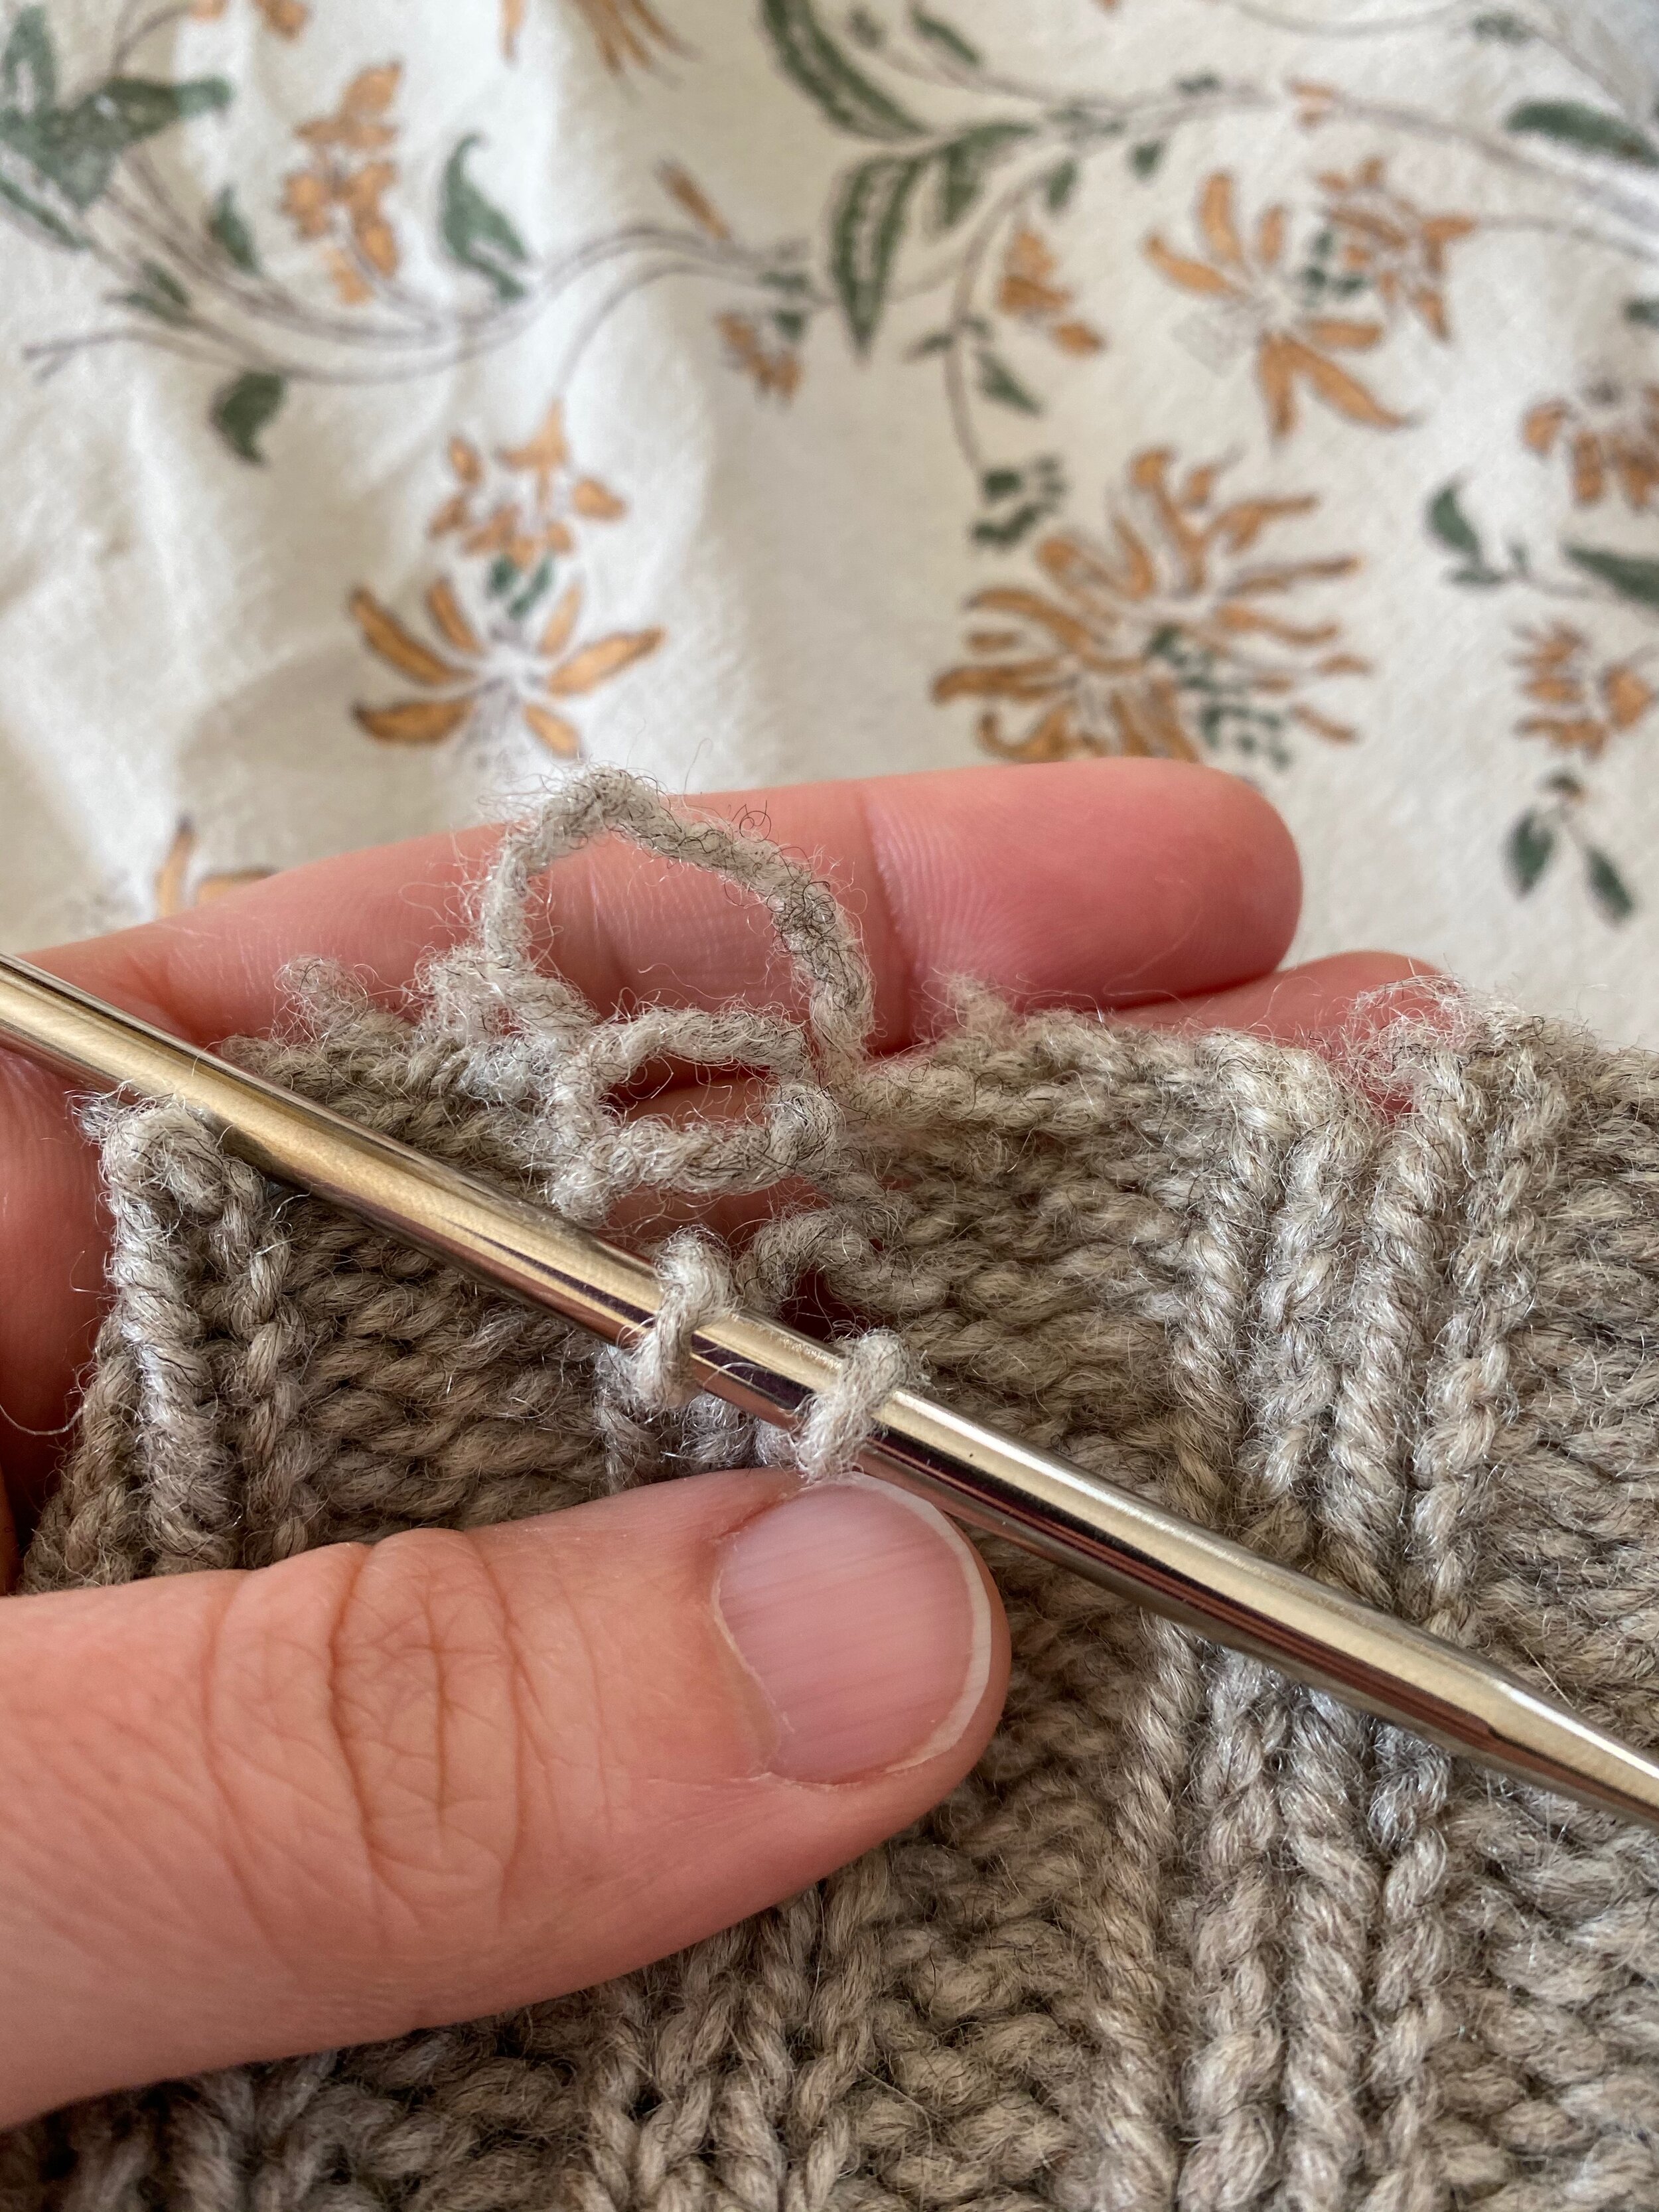
Yes, I’m measuring the finished hat here. Because I don’t have a gauge swatch. I wish I could say that was because I unraveled my swatch to use up every bit of this precious yarn, but the truth is that I was lazy and impatient and figured I would start the hat band and use that as my gauge swatch. That was a mistake - the gauge I read from the garter stitch with slip stitch ridge in the middle was not accurate at all and I ended up having to recalculate/compensate on the fly… The point is, take the time to knit a real swatch and measure your gauge carefully! But also, knitting is fun and hats are forgiving, so if you make the same mistake I did, I bet you can make it work. :)

After you’ve measured your gauge, you’ll need to find the key stitch counts in the pattern that will need to be adjusted. In this pattern, there is a cast on count of 27 stitches for the hat band, and then increase rows that bring that count to 45 stitches at the widest part of the earflap. Then for the crown of the hat, you pick up 84 stitches from the edge of the band.

The “Difference” column tells you how far off the final measurement you get by following Knittrick’s recommendations will be from the pattern’s intention. In this case, because the gauge is fairly fine and there are no pattern repeats to contend with, those differences are tiny.

With this information, you can make notes for yourself in the pattern and start knitting. Where the pattern says to cast on 27 stitches, you would cast on 32. And where the pattern says to work 9 increase rows to get to 45 stitches, you would work 10 increase rows to get to 52 (or 11 to get to 54, depending on whether you wanted barely shorter earflaps or barely longer ones). And your whole hat band should end up having the correct number of rows to pick up 99 stitches for the crown instead of 84 stitches like the pattern says. You can might figure out that means 198 rows, since the pattern wanted twice as many rows as stitches to pick up later, but you can also use Knittrick to keep track of row calculations.

To keep your row and stitch calculations separate, use the toggle at the top left of the screen. For this pattern, the garter stitch band should be worked in pairs of two rows to make a complete garter ridge to pick up from later. So turn on the “Require whole repeats” option and enter 2 rows as the repeat amount.

You can see that even for a simple project like this hat, there are a number of different things to keep in mind when altering the gauge, and it is important to understand how the piece is constructed so that you can tell which counts are key and how they might interact with each other. If you are knitting a multisize pattern, you will probably find it easier to to just choose a different size and follow the instructions for that instead of doing all the individual calculations yourself. Knittrick can help with that, too - check out the Pick a Pattern Size post for guidance!

A final note: Making big changes in gauge will make big changes in the nature of the finished object. Knittrick can only convert the flat dimensions of a project (the width, length, or circumference). It can’t make adjustments for the thickness of the fabric you’ll be creating. So, you can use Knittrick to tell you how many bulky stitches to cast on for a baby sweater pattern that calls for lightweight yarn, but the resulting sweater will be really thick and probably not very comfortable! The Craft Yarn Council has a helpful guide to yarn weights, if you want to learn more.

Knittrick: Use Measurements

If you’re creating your own knitting pattern from scratch, you’ve probably done gauge math yourself before. Knittrick just makes it easier and faster, especially when repeating patterns are involved, which is something I appreciated when I went to design myself a copy of Hermione’s sweater (from the Deathly Hallows movie) a number of years ago.

I was completely distracted by Hermione’s sweater when I first saw (one of?) the Deathly Hallows movies. (That button band! That reverse-stockinette combined with colorwork yoke!) A few years later, I finally put in the time to make a similar one for myself.

Although I’ve confused myself a bit in trying to figure out exactly what I did and why all those years ago, the basic process isn’t too complicated. To start with, I could tell by looking at photos online that the sweater had a circular yoke, which is a style that hides a few rounds of decreases at intervals in the colorwork. Since the gauge was large (each of those scallops is 1.6” wide!), everything about the sweater would depend on fitting the right number of pattern repeats into each section of the yoke.

I could only find a centimeter ruler just now, but 10 cm is also very close to 4” and either one is the standard distance over which to measure knitting gauge (the number of stitches it takes to cover a certain distance). Accurate gauge measurement is essential for a well-fitted result. Make sure you knit a swatch larger than 4” in each direction and wash it the way you intent to wash the finished project before you measure the gauge.

Using Elizabeth Zimmermann’s EPS (“Elizabeth’s Percentage System”), which you can find in several of her books*, and adjusting for the 1.5” that my planned button band would take, I figured I wanted the yoke to be about 53.6” at the start of the colorwork. The EPS system (with Swansen’s modifications) said the first round of decreases should bring the measurement to about 40.3”, the second to about 26.9”, and the third to 16.3” for the neck.

*I particularly appreciate The Opinionated Knitter, which has great editorial comments from Meg Swansen (Zimmermann’s daughter) and some refinements to the EPS.

Knittrick calculations for how many stitches should be in each section of the yoke, without considering the pattern repeats.

Plugging those numbers into Knittrick gave me stitch counts, but the pattern repeats were so large and bold, I really wanted them to fit neatly into the space, not get cut off randomly at the button band.

This is the actual pattern chart I made and followed for this project, but be warned that although it made sense to me 7 years ago, it’s a bit incomplete and hard to follow. For instance, there are clearly a few color blocks missing and I think the <decreases> notations mark is where I could see stitches overlapping, which means the decreases were actually worked in the row above them. The bottom section of the pattern repeats at the top.

I made my colorwork chart by closely examining the knitting in photos on the internet. That allowed me to see where the yoke decrease rounds were happening, and that the pattern sections were all based around repeats of 6 stitches. Also, the checkerboard-type section had alternating blocks of 6 stitches and I wanted the pattern to be mirrored on each side of the button band, so I knew that section would require an odd number x 6 stitches. And for the scallop patterns, I would need one extra stitch at the end of the row to visually complete the scallop. With all that in mind, turning on “Require whole repeats” in Knittrick and setting the repeat length to 6 showed me the tradeoffs I needed to consider.

Knittrick calculations with whole repeats of 6 stitches required. I’ve left off the final round of decreases here because the colorwork is finished by that point, so the repeats don’t matter.

Other than being a little bigger than I intended at the start of the yoke, this looked pretty good. However, the section between the start of the yoke and the first round of decreases was meant to be taller than the others, and should have included the checkerboard pattern that I wanted to be symmetrical on either side of the button band. So the even number of repeats (34) suggested by Knittrick wouldn’t work well for me there. Since the actual measurement I wanted was right in the middle of the what I would get from 33 repeats of 6 (plus one stitch) and 34 repeats of 6 (plus one stitch) , I could have just made the sweater smaller overall and started with 33 repeats (plus one stitch) . But I really wanted this to be a big cozy sweater, so I didn’t like that option. I also didn’t want it to be too big by going all the way up to 35 repeats (plus one stitch) at the start of the yoke. I decided to sneak just a few decreases in after knitting the solid blue row above the first scallops (that way the overlapping stitches are in the solid row and basically invisible), so that I would have exactly 33 repeats of 6 stitches for the checkerboards (unlike the scallops, an extra stitch at the end of the row would have unbalanced that section of the pattern).

For reasons I don’t remember (maybe because of the relative heights of the sections again?), I ended up doing 24 repeats (plus one stitch) for the next section and 16 repeats (plus one stitch) for the last section of the colorwork.

This Forest of Dean project is on my Ravelry page with a couple photos from when it was new… and very few notes! As partly explained above, I ended up designing this pretty much from scratch based on photos and measurements, but I did appreciate the information in the Of Hallows and Horcruxes pattern by Megan Murray while I was thinking it through, and I think I used her instructions for the button band. The yarn is Briggs & Little Heritage 2 Ply in Aran weight, which I love. It is woolly without being itchy (with at least a t-shirt underneath) and it wears beautifully with almost no pilling. It is woolen spun, which makes it light and warm, but does make it a little more susceptible to wear. This sweater has seen a whole lot of use in the past 6 or 7 years and I just added some reinforcing darning at the elbows, where I could see the fabric was getting weak. I’ve also replaced the last half inch or so of the cuffs at least once.

This project was finished years ago and has been worn a whole lot. Here you can see a bit of the reinforcement I darned into the elbows recently.

Knittrick: Pick a Pattern Size

You might have heard the advice to “knit a size smaller” if your gauge is looser than the pattern calls for, or a size larger if your gauge is tighter. And that might just work! Then again, if you’re going to put all that time and yarn into knitting a sweater, you probably want a little more certainty that it’s going to turn out to be the size you’re hoping for.

My friend Christina (christinatina on Ravelry) has a neat method for using the Test My Gauge option in Knittrick to choose which size to knit from a multisize pattern when her gauge doesn’t match the designer’s specification. She was kind enough to explain it by talking me through the process for her beautiful (and perfectly sized!) Ursa sweater project on Ravelry.

©christinatina 2020. Used with permission.

She started out by swatching with her yarn on the size 11.5 (6.5mm) needles that the pattern calls for, but got a gauge of 16 stitches per 4”/10cm, rather than the 11.5 stitches the pattern expects. “I plugged those numbers into Knittrick and I could see right away that the sweater would be 10” smaller than I wanted!”

Initial Sanity Check

How much of a difference will this gauge really make? Well, -9.78”… Nearly 10” too small… it would fit some lucky 6 year old!

Christina was able to get the pattern gauge using size 13 needles (9mm), but as she noted in her Ravelry project, “I don’t like the fabric of the 13 needle, so I’m going to knit the size 46 sweater on size 10.5 needles.” But how did she know the size 46 was the right one for her? “That’s three entire sizes larger than I would normally knit for myself, I never would have picked that size without Knittrick giving me the numbers.”

“I do this all the time now. I look through the pattern for places where it says something like, ‘You should now have (150, 160, 170) stitches on the needles,’ places like the cast on, or after bust increases. And then I just type those numbers into Knittrick and pick the size that comes closest to the right measurement.”

Testing Sizes

Find a good spot in the pattern, like the cast on or the bust, where the designer tells you how many stitches should be on the needles for each size. Plug in the stitch count for each size until you find one where the

You can see this method in action above*. After entering your gauge and the pattern’s gauge at the top of the screen, the calculation area will appear. In the left hand column, start by entering the stitch count for the pattern size you would normally knit if your gauge was spot on. Knittrick fills in the rest of the line, telling you that the pattern expects your knitting at that place to measure 34.78” across, but with your gauge, it’s going to end up being only 25”, or 9.78” smaller.

Now, enter stitch counts for other sizes from that same place in the pattern. On these rows, ignore the “Pattern Intends” and “Difference” numbers. Look just at the “Instead, I will Get” column. When the measurement in that column is close to the “Pattern Intends” measurement of the first row, you’ve found the size you should knit! Make a note of it on your pattern and follow those instructions throughout.

NOTE: If the pattern ever gives instructions like “knit until the body measures (10, 10.5, 11) inches”, use the measurement from the size you would have knitted with perfect gauge. You want to match the finished measurements of that size, so there’s no need to worry about stitch or row count in places where the pattern is giving direct measurements.

NOTE ABOUT YARDAGE: Changing the gauge will change the amount of yarn you need for the project. If you are knitting with a larger, looser gauge than the pattern expects (and knitting a smaller size of the pattern to make up for it), you will need less yarn than the pattern says. If you are knitting with a smaller, tighter gauge and following a larger size of the pattern to make up for it, you will need more yarn. For instance, the Ursa pattern says it requires 450 yards (411 m) for the smallest size, but Christina’s version knitted at a tighter gauge ended up using 574 yards (525m).

*These numbers are for illustration purposes only, they are not the actual numbers from the Ursa pattern by Jaqueline Cieslak.

All Shall Be Well Again

It is harder to create than to destroy. And it’s often harder to repair than to create.

hermioneSweater - 1.jpg

Repair work is harder because it doesn’t give you a clear path to stroll down. You have to figure out the problem, decide how to get through it and then clear your own way.

hermioneSweater - 2.jpg

And it’s harder psychologically (at least it is for me) because you’re doing work over that had already been done… just to end up with a thing that is closer to what it once was, but not something new and exciting.

hermioneSweater - 3.jpg

I love this sweater, though, and it’s lasted three or four winters of being my favorite sweater… so now I hope it will last a few more.

hermioneSweater - 4.jpg

It’s my version of Hermione’s sweater from the Deathly Hallows movie, the reverse stockinette and the cabled button band caught my attention as soon as they appeared on screen. I cobbled together the pattern for it by consulting a combination of Megan Murray’s Of Hallows and Horcruxes and screenshots from the movie. I’m pretty sure the yarn is Briggs & Little Heritage, which I really loved working with. It’s a little scratchy at first, but its squishy springy texture really makes this sweater light and cozy.

hermioneSweater - 5.jpg

It’s held up really well over the years with minimal pilling, but the sleeve edges get a lot of friction and the yarn just wore right through. I put off the repair for months, but in the end it wasn’t that bad. I decided to add one extra round of knitting with fresh yarn before doing a new bind off, since that should give the more fragile older yarn a little more buffer. And I picked out the bind off and gave the other sleeve the same treatment, since I could see it was about to have the same failure.

Now I just have to weave in ends again…

IMG_1313.jpg

iCloud Sync

Knitamus now supports data syncing through your iCloud account, which is good if you'd like to be able to use Knitamus on more than one device.  To turn sync on, visit the Settings tab of the app and flip the switch!

The Inside Story

The iCloud system will, I think, be more reliable than Dropbox (which is what Knitamus used until the service ended) and, I hope, use less of your battery and bandwidth.  It requires more work from the app, though.  Especially for lists of things, like the list of chart positions you've saved for a project, Dropbox automatically handled situations where you'd added a position on your phone and deleted one from your iPad.  With iCloud, Knitamus has to handle conflicts like that on its own.

When you add in syncing your project list with Ravelry (a feature I wouldn't want to be without!), things get complicated quickly.

Since duplicate data is annoying but lost data is terrifying, I've tried to err on the side of keeping more than you might want rather than deleting more than you might want.  If you notice any problems, please let me know!  Your input helps me make continuous improvements.  :)

Oddities

If you are syncing with CloudKit and with Ravelry, you may find it difficult to delete projects.  I'm working out a solution for this, but for now if you need to delete a project, I would suggest deleting the project from the Ravelry website, then putting your device in airplane mode before opening Knitamus and deleting the project there.  You'll probably need to do this on every device that has the project.

You may find that you sometimes get an extra empty project.  I think this is also related to using iCloud sync and Ravelry sync at the same time.  I'm looking into this problem as well.  :)

Dresses Herself

Shmoogie is not one to fret over how to wear her handknits.  She knows the truth: they go with everything

1. Cardigan handknit by Mommy. 2. Summer dress by Hanna Andersson. 3. Christmas tights by Hanna Andersson. 4. Navajo juniper berry necklace, to ward off nightmares.

1. Cardigan handknit by Mommy. 2. Summer dress by Hanna Andersson. 3. Christmas tights by Hanna Andersson. 4. Navajo juniper berry necklace, to ward off nightmares.

Oof

Further Update (10/28):  I've just released 2.2.1, which should fix the crash if you were experiencing it.  Thank you for your patience and please let me know if you are still having any issues!

Update:  I think you may be able to stop Knitamus from crashing on you by removing its Dropbox permission.  You'll have to do this through the Dropbox website.  Log in and click on your username (in the top right corner) and choose "Settings".  In settings, choose the Security tab and then scroll all the way to the bottom.  You should see the apps that you've granted Dropbox access to listed there.  Click the little 'x' that's all the way on the right hand end of the row for Knitamus to remove Dropbox permission for the Knitamus app.  You'll want to keep the files in that folder (you will be asked; keeping the files is the default).  I hope that is helpful and, again, I'm sorry!

Sometimes software, like some knitting projects, just doesn't go according to plan.  I don't want to spend a lot of time writing here because I want to get things fixed as quickly as I can and I need to spend some time doing that, but I do want to let you know what's going on.

I pressed go on an update to Knitamus last night.  It's an update that's been in the works for several months and has come this close to release several times, but one thing after another has sent me back for one more revision.  When I pressed go, I was pretty confident that nothing terrible was still lurking in the code.

Unfortunately, there was.  If you were already connected to Dropbox in the app, your Knitamus is probably crashing on you right now.  I'm really sorry.  Honestly, I'm not sure how that got through.  I've removed the app from sale for now, to prevent anyone else from getting the bad version.  And I'm working on a fix which I will ask Apple to review as quickly as possible.  Fingers crossed you'll be back up and running soon.

Thanks so much for your understanding.

Promises

I hardly ever buy yarn without knowing precisely what it's going to become, but this was special and it is fun!  I've dreamed and sketched and wound... and I still don't know for sure.  There's a lot of swatching and very careful measuring ahead before I'll have any confidence my idea will work.  Those tiny balls are very very tiny!

image.jpg

Handspun

I've just started knitting a Hamlin Peak for myself, inspired by a knitter who wrote to me for advice on changing the gauge of it using Knittrick!   And I'm knitting it from a beautiful handspun I lucked into at my guild's stash swap last year. 

It's a BFL 2-ply by Sandi Spins. I don't think she has a website, so if you'd like contact info, email me! 

It's a BFL 2-ply by Sandi Spins. I don't think she has a website, so if you'd like contact info, email me! 

It has long color runs and, being a handspun, isn't totally predictable, so I (wisely?) decided to take some advice I gathered somewhere along the way that alternating skeins would be a good idea to break up the colors.

I was partway into this plan when I remembered the last time I did this and how hard it was to remember which skein I should be using when, since you end up with a working yarn at both ends of the piece and if you're using a cable needle...  Well, it gets confusing.

But the repeating row note feature of Knitamus was a huge help here.  I made a 4-row repeat like so:

I don't think it's really going to be 803 rows! &nbsp;But I'll just stop when I'm done. (And, yeah, I need to plug in!)

I don't think it's really going to be 803 rows!  But I'll just stop when I'm done. (And, yeah, I need to plug in!)

And now I'm very sure where I should be and which end I should be working every time, even if I don't have time to get through more than one row in one sitting! 

Pricing

I've decided to make Knitamus a pay-once-to-download app.  This means you can choose to buy it now and never worry about having to pay for it again!

If you have ever purchased a subscription, thank you very very much!  I have ideas for future options, including advanced features for an in-app purchase.   As a subscriber, you will get those extras for free.

If you're curious about why I decided to try a subscription model in the first place, you can still read my post about it if you'd like.

If you're curious about why I've changed my mind, read on.  My goals for Knitamus haven't changed.  I still want it to be a sustainable project that knitters can enjoy for through many revisions of iPhones, iPads, and now Apple Watches!  But a year in, I have to admit that the subscription model wasn't working.  Maybe that was because the app was already really useful without a subscription (I wanted you to really love it before you paid).  But if I'm honest with myself, I think it was mostly that subscriptions are annoying.  As a user of software myself, I don't like them either, even if I do think they make logical sense.

The best thing about Knitamus being a paid download is that you can now get a discount if you'd like to own both Knitamus and Knittrick!  Check out the Knitting Bundle in the App Store.  Even if you've already purchased one or the other, you will still get the full discount (about 20%) if you decide to complete your bundle.

If you'd like to support Knitamus, it would be wonderful if you would tell your friends about it or show it to your local yarn store!  Leaving a quick review on the App Store is also very easy and very helpful.

Thank you for your support!

Apple Watch Giveaway!

What if your watch could keep track of your knitting?

You'll be able to work with several of your most recent WIPs.  Update your row counter and check your notes!  Dictate new notes!  Even repeating ones!

To celebrate, I have one watch* to give away!

How to enter:

Leave a comment on this post!  What should you say?  Anything to convince me you're a real person who likes to knit or crochet.  :)  I'd love to visit your Ravelry project, blog post, or project photo if you include a link!

Comments will close on Friday, May 8th at 11:00 PM Pacific Time**

One entry per person, please.  Newsletter subscribers may enter twice (just leave a second comment that says something like "I'm a newsletter subscriber!").   Winner chosen at random from the comments!  And, yes, I am willing to attempt international shipping!

* The watch in question is a 38mm Apple Watch Sport with fluoroelastomer band.  The watch requires an iPhone 5 or later (and running iOS 8.2) to be useful.  (Phone is not included in this giveaway.)  I will also include a free download of Knitamus for the watch winner and two runners up!

** Why 11:00 PM?  Because I can never remember whether midnight is 12:00 PM or 12:00 AM or whether midnight belongs to the day before it or the day after it.  11:00 PM is simpler, right?

 *********************

Thanks so much for playing, everyone!  I have been enjoying visiting your projects (still have a few to get to!)

Congratulations to Susan C, whose lucky number came up the winner!

Useful

Believe it or not, my first ideas for Knitamus didn't even include the chart view.  I was just thinking about keeping repeating notes straight for myself in things like this sweater.  (And, no, it hasn't been blocked yet.)

image.jpg

In retrospect, I think the smart thing to do would be knit the cable yoke, then pick up stitches for the neck and body/sleeves.  But that's not what I did (possibly it was a semi-rational choice to start all the ribbing with a tubular cast on instead of finishing it with a tubular cast off and the attendant endless grafting, but I think I just wasn't thinking).  No, I knit the sweater and the sleeves and joined them to start the yoke and then did the first decrease round and then provisionally cast on for the upper yoke AND for the yoke cable and proceeded to knit it on as I went.

image.jpg

This was tricky.  Partly because knitting things on is always a little trickier than just plain knitting, but mostly because of the curve.  And math.

image.jpg

I knew I needed to pull in an extra existing stitch every 6 rows of the cable.  But I was working a short row in each cable repeat on the outside edge to make the cable curve for the yoke.  So there was an extra end-of-row on the outside edge every time.

Honestly, I think I would have gone a little batty trying to keep straight the cable pattern and the never-matching-up extra stitch attachments on my own.  But if you ever get yourself in this situation, fear not!  It actually wasn't that bad with Knitamus.

One 7-row repeat handled the notes for the 6-row cable, plus the extra short row, and the extra stitch attachment on the inner edge (because that always lined up with the cable, every 6th row of a 6-row cable, the short row being meaningless on the inner edge).  One more 6-row repeat reminded me when to use up two stitches when attaching to the outside curve, which came at different points in the cable each time as the 7-row repeat cycled through its paces separately.

I think that sounded complicated.

How about a simpler example?  The sleeves on the baby's sweater increased every 8 rows.  But the cable pattern covered 6 rows.  Two separate repeating notes, no worries. :)

image.jpg

From a Friend

The last day of summer we did a bunch of things that I don't remember.  What I do remember is that my two older kids were squabbling non-stop and I was in a pretty terrible mood when we got home.

There was a package at the door, though, addressed to the new baby, and in it was this adorable Tiny Trees Vest, made by a good friend on the other coast who I miss very much.

Pattern: &nbsp;Tiny Trees Vest by Kylie BatesYarn: &nbsp;Berroco Ultra Alpaca

Pattern:  Tiny Trees Vest by Kylie Bates

Yarn:  Berroco Ultra Alpaca

 I give a lot of knitting, but I hardly ever receive any.  This rare treat turned my day around!  I don't know if the non-knitters I knit for recognize it, but the magic of a knitted gift is the hours your knitter was thinking of you while making all those stitches.  A knitted gift is an expression of love and esteem you can hold in your hands and use to keep yourself or your beloveds warm.  It is a treasure.

image.jpg

Why a Subscription?

The ideas behind Knitamus had been sloshing around in my head, leaking out in sketches and scribbled notes for years before I finally started writing the code to make them real.  All through that time, I was also thinking about how Knitamus could sustain itself financially.

You probably know that it takes a lot of time and skill to build an app, but it also takes time, skill, and commitment to keep an app improving in tandem with Apple’s fast-paced updates to the underlying software and hardware.  I've learned through experience that it's hard to sustain that effort if an app isn't earning its keep, especially if you also want to make the app even better by writing new code to do extra fun and useful things.

The potential audience for Knitamus will always be relatively small (there are many knitters, of course, but only a few have iPhones or iPads or want to use an app while they knit).  With that in mind, I considered all the usual (and some less usual) options.  For each one, I also thought carefully about what exactly it would encourage me to do and, on the other hand, how it might affect the way you use the app and feel about it.

In the end, a subscription made perfect sense.  It was the only idea that made sense, actually!  This way, if you like the app — and you have five projects to try it out on first — you can support it for as long as you keep using it.  I want you to keep using it, so I need to keep the app working well and keep it getting better.  Isn't that how things ought to be?

My goal is simple — for Knitamus to be a sustainable project (most mobile apps aren't) so that you can continue to enjoy a quality app designed just for knitters (and built by a knitter!) for years to come.  Thank you so much for supporting this effort!

If you want to chat with me about this or anything else, feel free to send me an email from the Contact page.  I love to hear from you.  :)

Found!

The most amazing miracle started off our hike near Mt. Ranier yesterday.  My husband was loading up his big serious backpack with food and drinks for all eight walkers in our party and when he opened up a small top pocket, he said, "Oh, look," and held a lavender wad of fabric out to me.

image.jpg

It was the lovely silk scarf he'd given me once and, lo! my Veyla mitts.  I had made them from a beautiful Ysolda Teague pattern, in a soft heathered alpaca yarn, with abalone shell buttons that I had bought on our honeymoon more than ten years ago.

They had disappeared three years ago, two household moves ago(!), and I had just recently given up hope of ever finding them.  I must have left them on a store counter or on a bus or not checked the pockets of a coat before giving it away, I figured.  I didn't even know which continent they were on.

I was pretty sad.  I mean, to lose a handknit is always horrible.  But I could have knit another pair.  I might have even liked the second pair better.  But there was no going back in time ten years and buying another set of honeymoon buttons.  (Buttons just like them, sure, but you understand the irreplaceable sentimentality.)

image.jpg

So it's an absolute joy to have these things back in my life.  Funny to think of them hiding out in that top pocket all this time, too, ever since our last trip to Schneeberg, outside Vienna.  I still remember the fluffy sweet buns stuffed with plum jam!

And the hike we took yesterday was pretty spectacular, too, even if we were swatting mosquitoes all the time.

image.jpg

Baby Gift Knitting

With the launch of Knitamus (go check it out!) now behind me, it's time to catch up on the blogging a little!

I'm also expecting my third child in a few weeks and this poor unnamed baby has no finished knits of his own yet, although there are plenty of hand-me-downs waiting for him (and it will be July, so woolens aren't immediately required...)  The real irony is, I've been knitting for babies, just not my baby!

First up, I made a set of three Milo vests (pattern by Georgie Hallam) for a friend expecting her second boy — a newborn size and a three month size (but you can see from how I wrote the tags that I wasn't quite sure of the final result!) for the baby and a three year old size for the big brother to match.  This was also an exercise in stash-busting, using maybe two balls of the extra 6 I had left from a poorly calculated adult sweater two years ago (I'm pretty sure it's Galway worsted?).  I have a serious problem with overbuying yarn when I'm not sure how much I'll need.  And I'm never sure how much I'll need.

I modified the pattern for gauge (the yarn was bigger than called for) using my Knittrick app, which sure does come in handy for knitting from stash.  I'm pretty hopeless at getting exact gauge anyway, but random stash yarn makes it near impossible!  The pattern is easy, fun, and quick.

And I just mailed a lovely squishy soft red bonnet to a friend for her first baby.  The pattern is Little Heaume by Solenn Couix-Loarer and I was trying to get yarn that I wouldn't have to change the gauge for, but failed!  (I think this is a Cascade bulky superwash.  I have all the ball bands, I just have a hard time finding them when I need them...)  Back to Knittrick.  Problem:  my gauge wasn't super far off and the proportion of my row gauge to my stitch gauge was off, which, if you've read the Knitphisticate Guide to Gauge (available as a free download if you sign up for my mailing list), you'll know is a bad idea!  So, it's a big hat (like, two-year-old sized).  And one that isn't quite faithful to the shaping in the pattern, though it's still pretty cute.  I do really love the pattern.  It's fun and easy to knit and looks very cute on a baby's head!  I have more yarn and will probably make another in a smaller size for my baby to wear this winter, now that I understand the pattern better.

Finally, it's not knitting, but the Teeny Baby doll I made this weekend for my daughter is too adorable not to share!  I got the kit from A Child's Dream Come True and it came together nicely and quickly, although making the head is always kind of a pain with these dolls!  I just noticed they sell pre-made heads, which I would definitely consider, even more so for a bigger doll...

She loves the new doll, especially that it has a sling.  She came down to breakfast wearing it and wore it to preschool, too.  Even my 1st grade son wore it for a bit yesterday and has asked for his own, saying he definitely didn't want one when he first saw me making it!  (We dug out the bigger baby doll I made him when we were expecting his sister, but he wants one of these "cute" ones, with a sling.  His baby doll was well-loved for years, and looks it.  Curiously, his name was "Baby Doll" and my daughter has named this one "Baby Doll", too.  Their other favorite stuffies have usually had names like "Sheep" and "Frog".  I guess I have very literal children?)

Expecto Patronum

I've been knitting away (and coding away, more on that in a moment!), but hardly ever getting around to posting the projects here or on Ravelry.  Does anyone else have that problem?  Honestly, to look at my project page on Ravelry, you'd think I hardly ever knit!  I'm looking to change that this year.

Photo Feb 26, 12 00 45 PM.jpg

This is the front chest portion of a vest I'm making for my son.  I haven't knit him a sweater in two years and I've been wanting to make him something to reflect his (and my, let's be real) love of everything Harry Potter.  I'd pretty much settled on a patronus theme, but was having a lot of trouble envisioning how it would look magical instead of just, you know, like a ski sweater with a deer on it.  But then, somehow, I started prowling the Internet for information on illusion (also sometimes called "shadow") knitting.

See the stag?

See the stag?

At first glance and directly from the front, the work looks like garter stitch stripes.  (Or, maybe more technically, purl ridges in one color on a stockinette ground in another color.)  But at just the right angle... magic!

It's all a matter of purl stitches bumping up above the surface of your knitting while knit stitches lie flat.  So the colors are knit in two-row stripes and the second (wrong side) row of each stripe determines the pattern.  Any stitches knit in that row will be purl on the right side and therefore stick up, which makes them visible as long as you remember to keep those same stitches in stockinette in the next row (other color), which lays them down to get out of your way so you can see the bumped up stitches behind.  It was a little mind-bending at first, but is actually quite simple once you understand what's going on.  And fun.

I didn't see any garments in my internet surfing, probably because it's hard to see the intended image if the fabric is rumpled or curved, as it would be when being worn.  But I'm hoping this will actually add to the effect in this particular case, giving a sort of shimmery, eye-tricking impression just like you'd expect from a patronus.

I'm planning to pick up stitches at top and bottom to finish the vest front in the dark charcoal and then I just have to decide if I'm going to knit the back in one piece or continue the illusion knitting band, maybe working the words Expecto Patronum into it?  I'll probably do that since I have plenty of the light grey yarn left.  And I'm hoping to add a hood, which is where I was originally planning to put the incantation, in a turned-in hem edge around the face.  Which I may still do.  No harm in extra protective spells, eh?

I love making things up as I go along!


And as for that mention of a lot of coding... I'm getting close to launching a real beta version of the next Knitphisticate app (that means a testing version for a small group of people, maybe you?).  This app is designed to make knitters happy, especially knitters who use Ravelry (but maybe have trouble keeping their project pages up to date, ahem!), or like to keep their patterns electronic, or like to knit with charts, or like to make things up or modify patterns on the fly and find it difficult to keep their notes organized (and not lost).  Sound good?  You might like to sign up for the Knitphisticate mailing list to get the full scoop.  :)  You can sign up on the home page.

Fixed

I made this little cardigan for my daughter while we were on the epic cross-country drive this summer. I love the edging (although I should have reduced stitches in the edging so it didn't bell around the cuffs and hem).

One thing I didn't love was the fit. It was sloppy at the neckline, always looking too loose and threatening to fall off her shoulders. She could hardly wear it unbuttoned, which is, of course, how she wanted to wear it most of the time!

So then I was at knitting group and someone was mentioning about those silly hoodie patterns that don't bind off at the neck and then don't have any structure at the neckline and you end up "looking like a cone head". And it dawned on me that the edge treatment I'd done added no structure to the neckline at all (it's folded and the live stitches sewn gently down).

A few weeks later, I took out my blunt needle and a length of the yarn and put a line of tight (really tight!) backstitching into the inside of the neck. (Normal recommendation is to do a line of single crochet, but I thought that would be too bulky.) For good measure, I kind of squinched down the ends of the edging at the front opening, because they stuck too far above the last button for my liking.

Finally, I switched out the buttons (for the third set on this sweater so far!) with some adorable owls that someone put in my Christmas stocking.

So much better now. A sweater I really like, instead of a sweater I'm slightly disappointed in. Sometimes it takes a few tries! (A better photo would be nice, but you can't have everything.)

iphone-20140129174039-0.jpg

The Christmas Knitting

I have to say, there's a lot going on in our household lately and I really wanted to enjoy the lead up to Christmas instead of feeling crazed, so I started off with very modest knitting plans.  Only two gifts, actually, were on my list and they weren't big things.  But you know how it goes, right?  I made good progress on those and got excited and started making more plans until my imagined pile of Christmas knitting kind of tumbled over on top of imagined me and I had to scale back again!  In the end, here is what I made:

Matching felted purses for my niece and her American Girl doll. &nbsp;Everything from stash except the pink yarn (and maybe the larger button, I can't quite remember...). &nbsp;Pattern made up as I went along (very simple). &nbsp;The buttons are pur…

Matching felted purses for my niece and her American Girl doll.  Everything from stash except the pink yarn (and maybe the larger button, I can't quite remember...).  Pattern made up as I went along (very simple).  The buttons are purely for show - there is one on each side and they hide the stitches that hold on a snap to keep the bags closed.  The adorable simple bird is sewn from wool felt (I always get mine from A Child's Dream Come True) using a free pattern from Alanna George at The Craft Nest.  The bird went to my grandmother, not my niece.  :)

This is one skein of Ushya by Mirasol, cast on provisionally, knitted in garter stitch until it ran out, and grafted together after putting a single twist in the piece. &nbsp;Could not be simpler and my sister loves it keeping her neck warm!

This is one skein of Ushya by Mirasol, cast on provisionally, knitted in garter stitch until it ran out, and grafted together after putting a single twist in the piece.  Could not be simpler and my sister loves it keeping her neck warm!

This is a very squishy hat for my brother-in-law. &nbsp;Knit from a bulky stash yarn with wool and cashmere content (I'm pretty sure it was Lana Grossa Alta Moda Cashmere) in the same chained construction that the Ushya uses, which seems to help som…

This is a very squishy hat for my brother-in-law.  Knit from a bulky stash yarn with wool and cashmere content (I'm pretty sure it was Lana Grossa Alta Moda Cashmere) in the same chained construction that the Ushya uses, which seems to help some against pilling.  I was quite happy with the result on this one and I hear it was well-received.

Finally, two pairs of slippers on their first fireside relaxation run. &nbsp;These are Duffers Revisited by Mindie Tallack, the original pattern in grey for (another) brother-in-law and with a bit of a tongue added (with inspiration from some other …

Finally, two pairs of slippers on their first fireside relaxation run.  These are Duffers Revisited by Mindie Tallack, the original pattern in grey for (another) brother-in-law and with a bit of a tongue added (with inspiration from some other Ravelers' projects) in the browns for my father-in-law.

I like to give felted slippers in person and not yet felted.  You get the look of confusion when the package is opened, the skepticism when you promise that twenty minutes in the washing machine will make them fit perfectly, and most importantly, you get the perfect fit.  Plus, felting is like cuddly, useful shrinky-dinks.  The kind of simple magic adults don't get to have in their lives that often.  :)  You can see the delight start to break through as you keep making trips from the washer with the slowly-but-surely shrinking slippers and fitting them to the recipient's plastic-bag-covered feet.

Always give felted slippers in person and not yet felted!

If you're in a rush (and who isn't?), set your oven to 200 (F) and put your newly felted things on a towel in the oven for a few hours.  They'll be dry days earlier than the just-sit-them-out method.  Just be sure no one changes the dial while they're in there!

Photo Dec 26, 3 23 57 PM.jpg

I made a pretty little neckerchief thing for my mother-in-law (from stash), too, but seem to have forgotten to take a picture!

Of course, I couldn't do everything I imagined and a few loved ones got left out, but they got nice non-knitted things and will someday make it back to the front of the knitting rotation!   :)

Christmas Project Bag

Very quick post to show the project bag I sewed for the knitter gift exchange at the Guild last night.  :)  The recipient seemed happy!  It's sewn as a rectangle and then triangles sewn down to make a square bottom, which makes it look trapazoidal when it's ironed flat.

Photo Dec 04, 4 44 27 PM.jpg

And I used it to wrap a little ball of silly red yarn.

Photo Dec 04, 4 46 36 PM.jpg